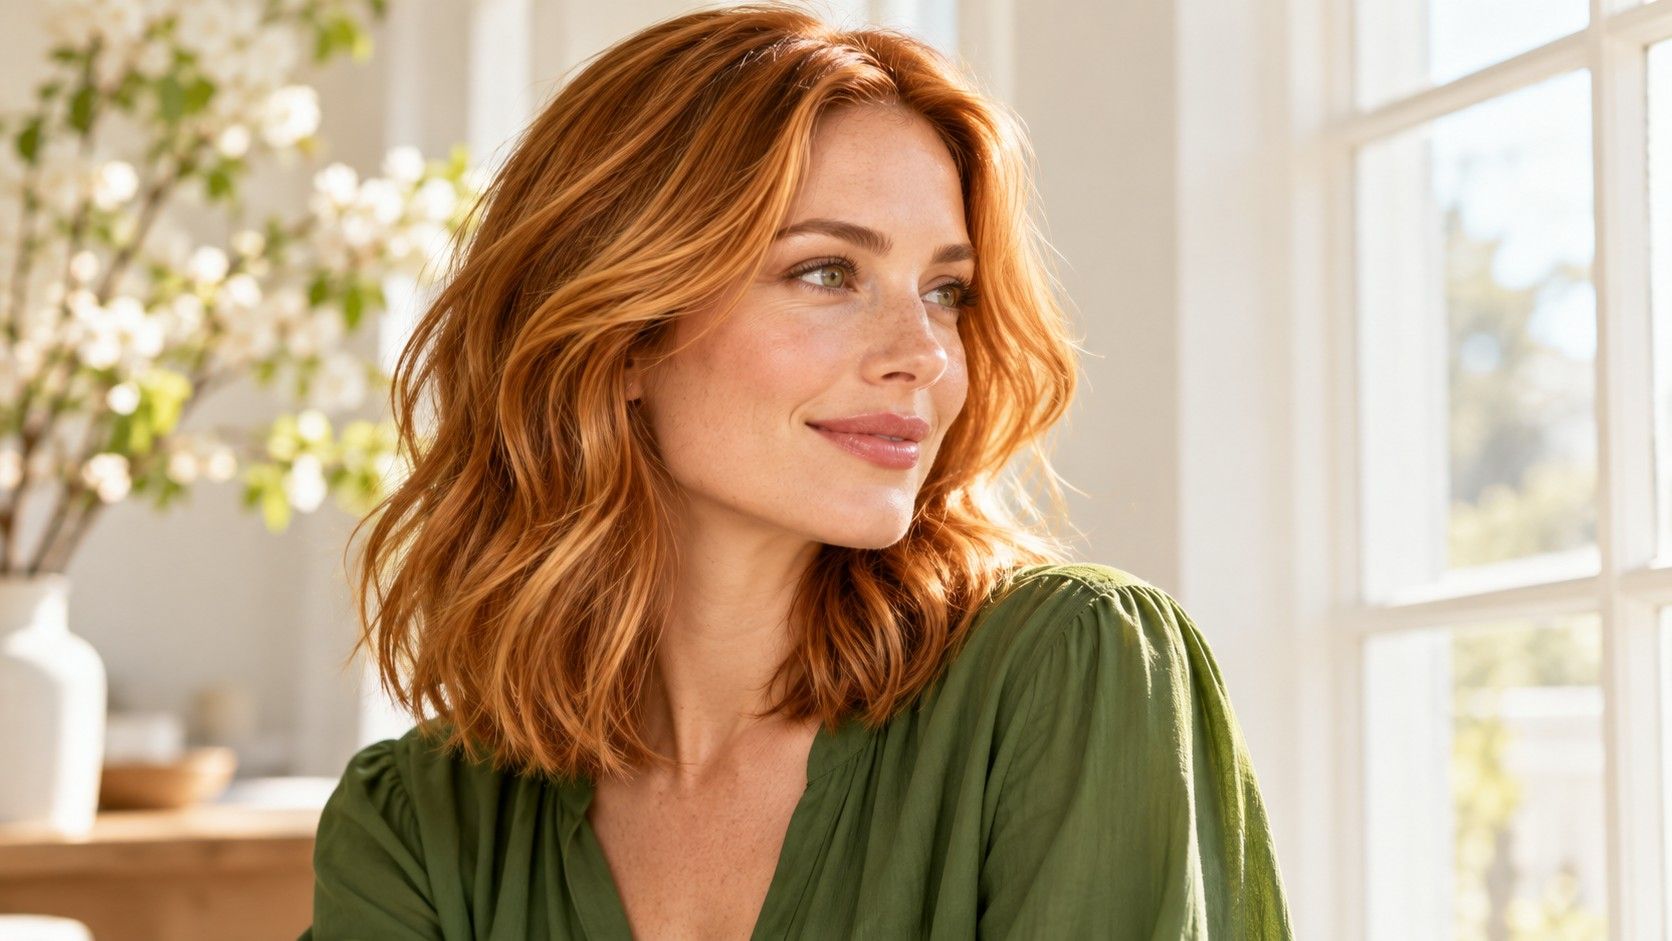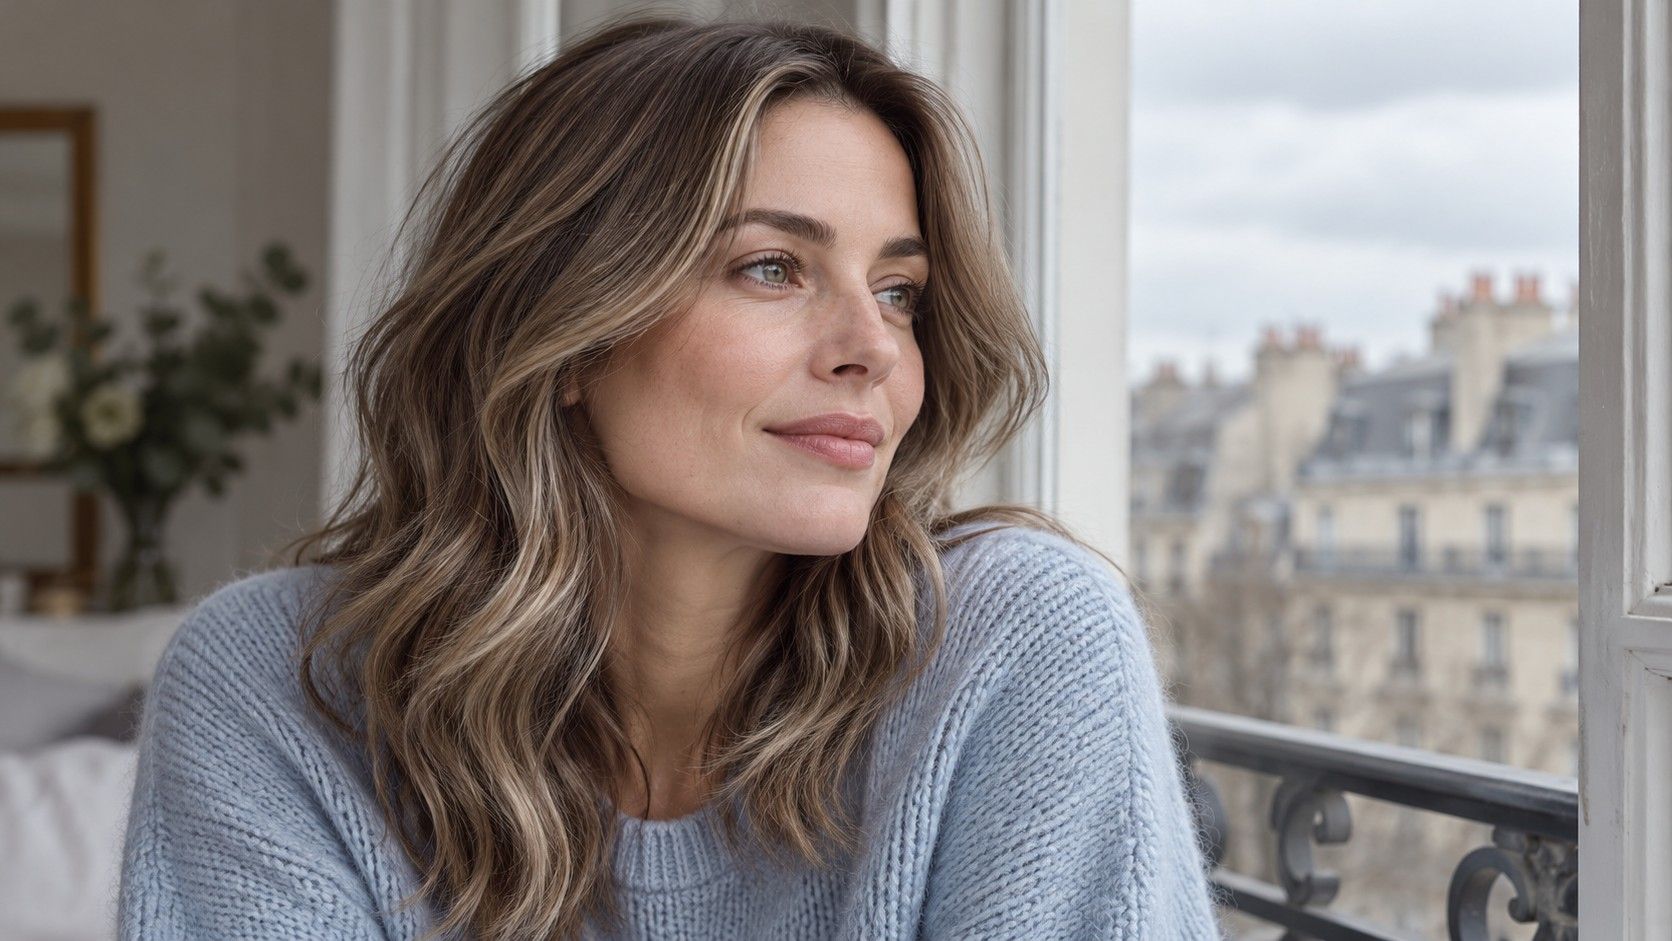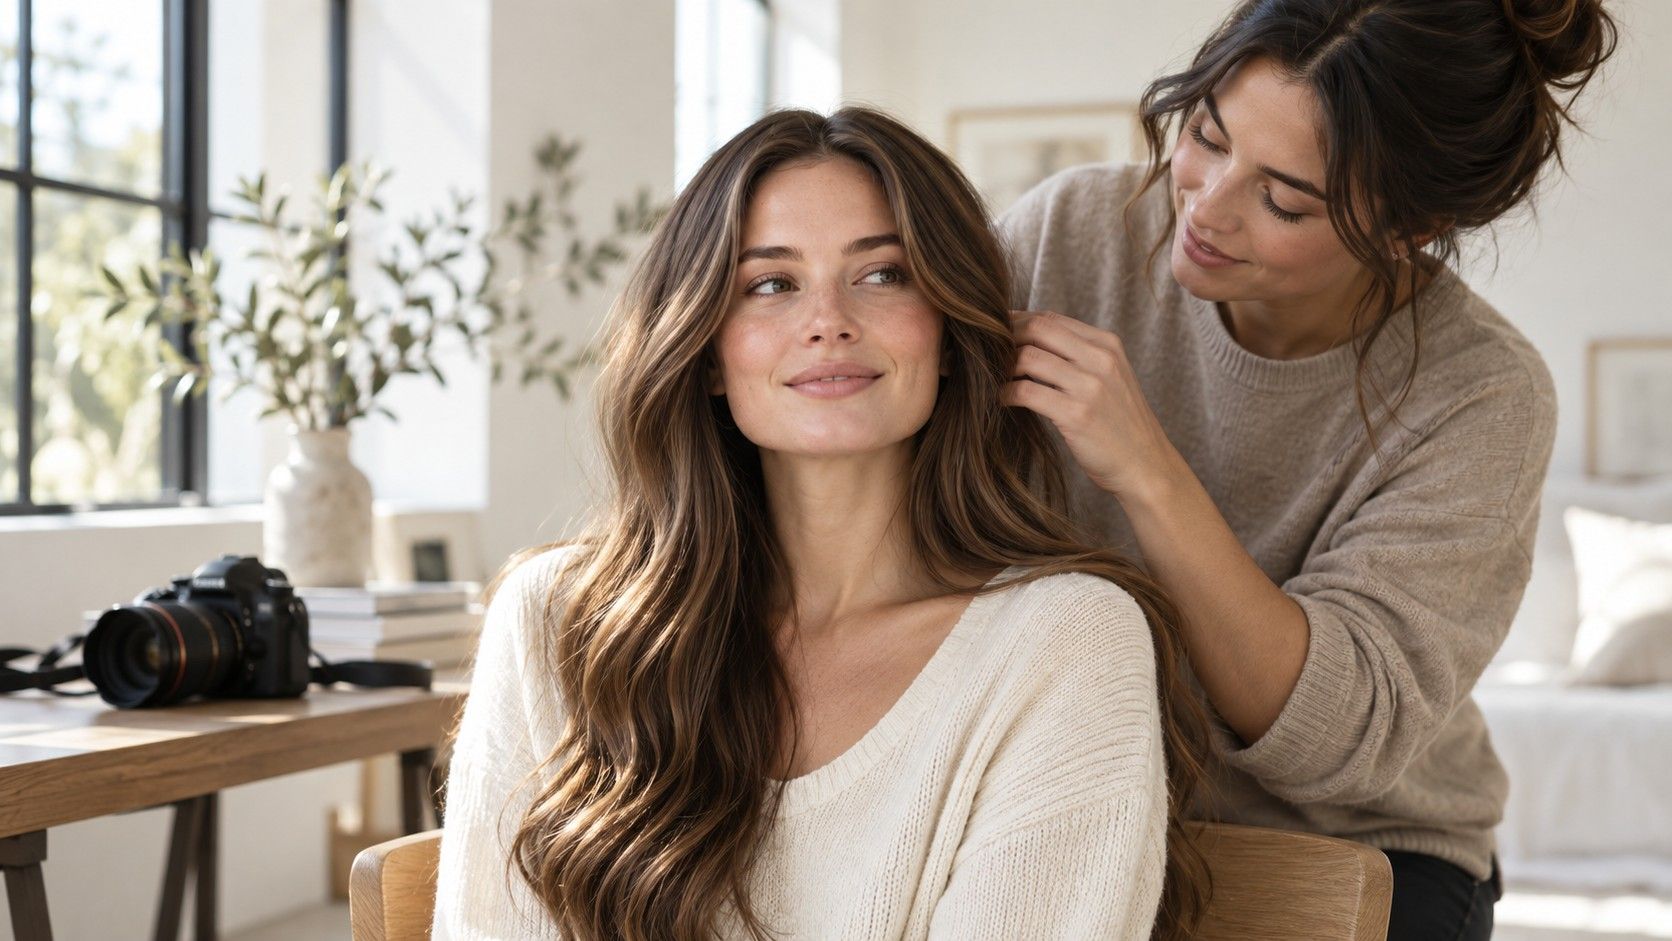
A virtual hair color try-on can answer a useful early question: do you enjoy seeing yourself with a lighter, darker, warmer or cooler frame around your face? It cannot establish how your actual hair will reach that shade. Treat the preview as a comparison image, keep the original beside it and look closely at the parts the filter gets wrong. A few carefully saved options are easier to use than a camera roll full of dramatic transformations.
Choose a photo that gives every shade a fair test
Start with a clear photo in even, indirect daylight. Stand near a window without placing one side of your face in deep shade. Strong sun can wash out hair detail and make a dark base look much lighter. A yellow ceiling light can add warmth before you have selected a single shade.
Keep your whole hair outline in the frame, including the top of the head and the ends. A plain background gives you a better chance of seeing whether the tool has colored the hair accurately. If a dark chair merges with dark hair, the filter may treat both as the same region. Check that the photo still shows natural root color and any existing highlights.
Use an unfiltered image with ordinary makeup, or none if that is how you usually wear it. A smoothing or complexion filter can make every shade seem more flattering by changing your face at the same time. Save a copy of the unedited original before starting.
Take a second photo with the same lighting and a slightly different angle. The first image is your controlled comparison; the second checks whether a favorite shade works beyond a single pose. Keep your hairstyle broadly similar between them.
Change depth first, then compare warm and cool tones
Depth means the apparent lightness or darkness of the hair. Tone describes its color character, such as golden, copper, ash or neutral. Start by comparing your current depth with one somewhat lighter and one somewhat darker option. Once you prefer a range, compare warm and cool versions within it. This keeps a large brightness change from being mistaken for a preference about undertone.
For example, if your starting hair is medium brown, compare a neutral brown, a golden brown and a cooler brown before jumping to platinum. A pale blonde may feel more striking simply because it creates a much bigger change.
If the tool has an intensity control, keep its setting consistent while comparing shades. A faint wash of copper is not a fair match for a fully opaque cool brown. Watch the skin and background as you switch. If they brighten with one option, the image has changed in more than one way. Return to the original photo and decide whether the hair alone is responsible for your preference.
View comparisons on the same screen with its brightness held steady. Exact screen color should never be the only instruction given to a colorist. Use the images to describe a direction, then discuss real shade references and your starting hair.
Inspect the hairline before judging your face
Masking is the tool's separation of hair from everything around it. Check the forehead, ears, shoulders and spaces between strands. A filter that paints color over skin can make a warm shade appear to suit your complexion by changing the complexion too. Color on the neck or clothes can also affect the overall impression. If the mistake is obvious, treat that preview as weak evidence.
Look closely at roots and eyebrows. Some previews leave a strip of the original hair at the scalp; others fill every area with one flat color. Either result can change how strong a shade appears near the face. Eyebrows may remain unchanged, which is useful for judging contrast, but verify that the tool has not recolored them or softened them automatically.
Curls, fine flyaways, braids and overlapping strands can be difficult boundaries. Check the gaps as well as the outer edge. A pale color painted across dark gaps can make hair look artificially dense, while a missed section may create a false shadow. Do not reject a color just because the filter struggles with your texture. Try a clearer photo or use the result only for a broad depth comparison.
Texture matters inside the hair too. When a preview removes highlights, shine and shadow, a believable brown can become a solid helmet. A dramatic blonde preview may replace dark hair with an evenly bright surface that says nothing about dimension. Ask whether you like the shade's direction, then look for a reference photograph showing the kind of depth and placement you actually want.
Choose a simulator for the controls you need
The best virtual hair color try-on for your decision is one that lets you make a fair comparison. Check whether you can return to the original easily, repeat a shade on a second photo and save the result clearly. If the available controls cannot separate hair from the background, more shade names will not fix the underlying problem.
For a virtual hair color try-on free of charge, inspect the conditions before uploading. Check whether saving, certain shades or additional attempts require payment or an account. Access and features can change, so confirm them in the tool itself. “Free to preview” and “free to export a usable image” may mean different things. Decide which function you actually need before spending time comparing options.
Read the photo-handling information and account requirements as well. Upload a photo you are comfortable using for that purpose, avoid including other people and check available deletion controls. A simulator should make its conditions understandable enough for you to choose. If the terms are unclear, there is no need to upload a more revealing photo simply to unlock another visual comparison.
A search such as Matrix virtual hair color try on may lead you toward a particular brand's tool. Check its current shade list and controls directly rather than assuming it matches a result seen elsewhere. A hair color simulator is most useful when you compare its own options consistently and carry the resulting direction into a real consultation.
Save three shades with useful labels
Reduce your favorite previews to three: a small change, a moderate change and an ambitious alternative. This is enough to show a range without asking someone to interpret dozens of near-duplicates. Keep the original next to the selected images and use the same crop where possible.
Label each saved image with the shade name shown by the tool, the approximate effect and the part you like. “Cooler medium brown, less warmth through the ends” is helpful even if the colorist uses a different shade system. “Much lighter around the face, darker root retained” explains a placement preference.
Try each finalist on your second photo. Look at the whole face before zooming into the hair. Does the shade still appeal when your head turns slightly? Does a flaw follow the color, or does it appear only where the filter misses strands? If a result succeeds only in one heavily lit image, keep it as inspiration with a question attached, rather than a firm instruction.
Wait until a separate viewing before making your final choice if you can. A sudden change can be appealing simply because it is unfamiliar. Reopening three labeled images is a useful test of whether you still want the effect with your normal clothes and routine.
Ask what has to happen outside the screen
A virtual hair colour try-on can change the whole head instantly. Real hair has a starting depth, previous dye and uneven sections that the preview may ignore. Show the colorist your current hair as well as the edited images. Explain any permanent color, lightening or other color services you remember, including whether they covered all the hair or selected pieces.
Ask what is achievable from that starting point, whether the desired appearance could involve several stages and how closely the finish can resemble the reference. Discuss the specific feature that matters most. Keeping a darker root, choosing a softer blonde or placing brightness selectively may preserve the effect you like while changing the practical work involved.
Put upkeep into the same conversation. Ask how visible regrowth might look, how the chosen tone could change between appointments and what the likely service pattern would be. Request an estimate based on your own hair and goals. A preview does not tell you the cost, appointment time or maintenance routine behind the transformation.
For home coloring, use the product's directions and required safety instructions; an edited photograph provides no basis for choosing chemical steps or processing decisions. Keep the simulator in its useful role: a visual aid for explaining the depth, tone and contrast you prefer. Your strongest takeaway is a clear request supported by images and an honest account of the hair you are starting with.